
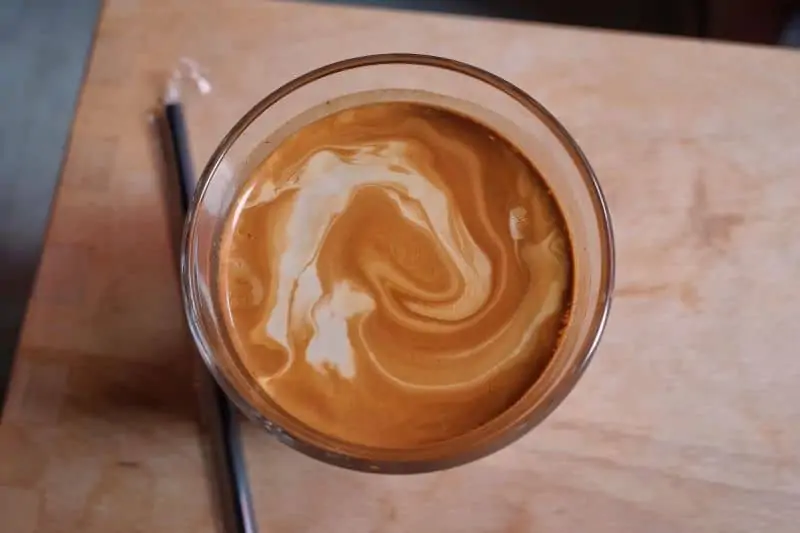
Creamy and velvety foam defines the texture of coffee. I find it as important as the quality of coffee beans used. Learning how to froth milk made a world of difference to the coffee I prepared.
There are several ways to froth milk. To cover this guide on how to use a milk frother, I’ll stick to dedicated milk frothers. The only requirement is that the frother be capable of creating uniform, velvety foam.
Let’s see how it is done!
Choosing Milk And Temperature
Whole Milk, Skim Milk, And Non-Dairy Alternatives
Here’s a quick tip: beginners should use skim milk. To be clear, it isn’t the best choice for frothing milk. However, it is better at holding foam at room temperature. This allows better results and practice for beginners. The bubbles will be larger, but it is overall easier to manage.
As you gain experience, swap skim milk for whole milk. It makes better foam, and this is where you get good quality frothed milk that you’ve wanted. Microfoam is exactly what we want from frothing milk and whole milk is the best shot at it. If you have some experience and culinary skills, it is okay to use whole milk even as a beginner.
Whole milk creates thicker, creamier foam. Skim milk creates more foam, but with larger air bubbles. Non-dairy alternatives like almond and soy milk can be inconsistent with foam quality. However, don’t expect anything more than a thin foam.
Milk Temperature For Frothing
You can froth milk cold/room temperature or at a higher temperature. If you choose to go with hot milk, the ideal temperature for frothing milk is 140-155 degrees Fahrenheit. Those who want to be precise should look at a thermometer to get the exact readings and temperature.
Those who are experienced in the kitchen can pretty much wing it. Take your best guess and remove milk from heat.
One thing that is essential here is that the milk should not boil. If it boils, it won’t lend itself well to frothing. In fact, if it boils, you’ll be better off replacing it than trying to froth it.
Get Milk Volume Right
Keep an eye on how much milk you are adding. Most milk frothers with vessels have a mark to indicate the maximum amount of milk to be added. Do not go above this level. If the pitcher or vessel you’re using doesn’t have any markings, use your best judgment.
Expect the milk to double in volume in frothing. And remember to leave enough room to conveniently manage froth and the milk frother. Ideally, the volume of milk you add should be well below the halfway volume of the vessel.
Grooming Foam Is Okay
Even with the best of milk frothers and every care in the world, there is always a possibility of some large bubbles creeping in. I used to find them quite disheartening when I was a beginner. Then I realized, they aren’t that big a deal if everything else has been handled well.
A quick tap on the container usually bursts the erring larger bubbles. Keep in mind, this method is designed to take out the odd large bubble that shows up in the microfoam. Grooming foam won’t help if there are several large bubbles or the frothing wasn’t done right.
Know When To Stop
Here is a small rule to live by and remember: you’re frothing milk, not churning butter! Know when to stop and absolutely be certain not to overdo things. Don’t keep the milk frother or wand running for extra time in the hopes of hitting the beloved microfoam.
Overdoing it runs the chance of butter being formed. That doesn’t help with things and will degrade the quality of the foam already present.
How To Use A Manual Milk Frother: A Step-By-Step Guide
The manual milk frother is usually the plunger-style or hand pump frother. In general appearance, this type of milk frother often looks quite similar to a French press. And that’s okay because their use is interchangeable.
If you have a French press, you can use it as a manual milk frother. It froths milk as well as a manual milk frother and the quality of foam/microfoam is second to none.
It should be no surprise that the manual milk frother demands more manual effort from the user. Be prepared for it. Well, it isn’t exactly hard labor, but it can get some time getting used to it.
Step 1: Initial Steps And Preparation
Make your choice between hot and cold milk. If you want froth hot milk, heat it to the right temperature (below 140-155F). Pour the milk into the manual frother. Remember the volume rule and don’t add more milk than necessary. Ideally, you’ll only fill one-third of the frother.
Attach the cap or lid of the frother. Ensure that it is placed right and there is no room for leaks. Cleaning is going to be bummer if you’re not careful!
Step 2: Test It Out
Give the plunger a couple of test hits. This serves as a small check to ensure that everything is working how it should. Remember to temper your strength! You are the force behind the manual frother and overzealous power will end up damaging the frother.
This is especially true for manual milk frothers that have a glass body. It can be a good quality build with thick glass, but glass is glass. Extra force is likely to damage your milk frother.
Even though they have this little shortcoming, I am partial to glass design for milk frothers. They look better and you can keep an easy eye on your progress. Manual milk frothers made from metal may not lack in the appearance department, but you’ll have to lift the lid every now and then to see if the job is done.
Honestly, this shouldn’t even be much of an issue. Once you acquire skill, you don’t quite rely on visual cues from the frother. Maybe I’m just set in my ways.
Step 3: Frothing The Milk
Vigorously plunge the handle up and down for about 30 seconds. And don’t forget what I said about tempering your strength. During this time, the volume of the milk in the frother will almost double. This is an indicator of the process being completed.
You’ll also feel some other changes that suggest the milk is being frothed. As you progress with the frothing, the plunger will require more effort to move. Each plunge aerates the milk, and the frothed milk creates more pressure on the plunger.
Step 4: Check Your Progress
After about 30 seconds of moving the handle, stop and check your progress. The frothed milk should be ready at this time. If it needs a few more seconds of plunging or grooming, go right ahead.
Check the foam’s consistency, and if it doesn’t quite fit your requirements, get plunging again. Once you’re satisfied, transfer the foam to another vessel.
If you want the foam for your coffee, you can simply pour it from the carafe into your coffee cup. There’s also the possibility of scooping up some foam with a spoon and depositing it on your coffee.
Frothing Milk With A Milk Frother Wand
This one’s the magic wand for frothing and getting the job done. Milk frothing wands or handheld frothers are easy to use, portable, and do an excellent job of frothing milk.
A small downside is that these frothers don’t quite create a high-quality foam. This milk frother’s result is going to be slightly inferior as compared to the manual and automatic milk frothers. However, the change is small enough to be ignored. Additionally, the convenience offered by the wand is tough to beat.
Many modern handheld milk frothers don’t need a power supply and can work off batteries. It’s pretty simple and convenient. The milk frothing process requires some skill, but it does give pretty good results considering the effort invested.
Step 1: Basic Preparation
Decide on the temperature of the milk and pour it into a carafe. Take the handheld milk frother to the kitchen sink and switch it on for a couple of seconds. This will shake off any particles or water still attached to the frother.
Step 2: Dip Frother Into Milk
Place the frother above milk and insert its head into the milk vertically. The head of the wand should be completely submerged in milk but should not be in too deep. Switch on the frother and hold it in its place. If your handheld frother has multiple speeds, start with the high speed.
Step 3: Frothing Milk
Let the frother work its magic. If you had inserted it too deep into the milk, the frother will make strange noises. If, on the other hand, it wasn’t completely inserted, the frother might end up spraying milk around.
For a milk frother inserted at the right depth, you will soon notice a small whirlpool forming near the frother. Keep it steady and you’ll soon see foam starting to form. Keep the frother running for about 30 seconds. You may also choose to move it in circular motions.
Step 4: Checking The Froth
Experienced users may want to tilt the milk container at a small angle while ensuring that the whirlpool near the frother is not disturbed. If you’re not certain about pulling this off, it’s better not to tilt or move the container.
Since the frother and the container are both open, you’ll soon see the froth forming and the volume changing. When you see the foam has achieved the desired consistency, it’s time to switch off the frother.
Groom the foam by giving a quick tap to the container, and you’re all set.
Froth Milk With An Automatic Milk Frother
Using an automatic milk frother is the simplest route to velvety microfoam. It is also a very expensive route compared to other methods. There are reasonably priced automatic milk frothers available. However, the relative price difference between an average handheld frother and automatic milk frother is quite notable.
Dropping a few extra bucks on a superior product isn’t difficult to justify. If you enjoy coffee at home and want good quality foam for minimal effort, automatic milk frothers are the way to go.
Step 1: Add Milk
Add milk to the carafe on top of the frother. Ensure that the milk added doesn’t go beyond the maximum marked level on the carafe.
Step 2: Manage Settings On The Machine
You can manage settings on an automatic milk frother. Set up temperature and foam customization options. Switch on the machine and let it get to work. When frothing is done, the machine will stop and let you know.
Quick Tip: Microwaving The Frothed Milk
If you used hot milk to make the foam, chances are, the temperature of the milk went down by the time you finished frothing milk. The automatic milk frother will keep the temperature at the right point, but the other methods might need an extra touch.
Pour the foam into a microwave-safe container and pop it into the microwave. Let it heat for 30 seconds. Keep a check to make sure that the milk does not boil, because that will spoil the frothing.
Once it’s out of the microwave, use a spoon to add foam to your cup of coffee. A big benefit of microwaving the frothed milk is that it stabilizes the foam and bubbles, so you get better foam.
3 Notable Milk Frothers To Consider
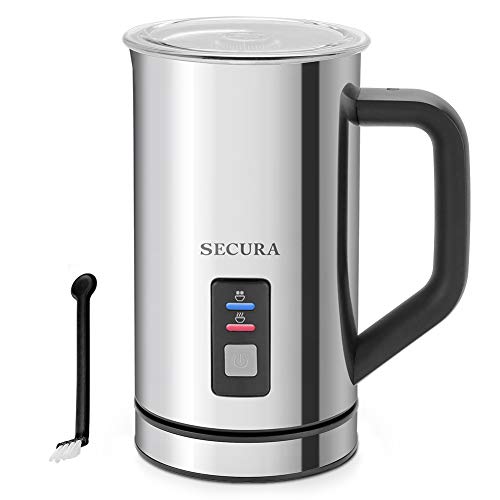
Secura 4 in 1 Electric Automatic Milk Frother

This cost-efficient milk frother from Secura handles its duties of frothing milk rather efficiently. Its frothing disk and heating whisk work in tandem to froth up to 250ml of milk. It has the option to manage the temperature to suit requirements for hot or cold foam.
The stainless steel carafe sits on a small base that gives this automatic milk frother an overall compact and sleek look. The milk jug is easily removable and convenient to use.
Miroco Electric Milk Steamer Soft Foam Maker
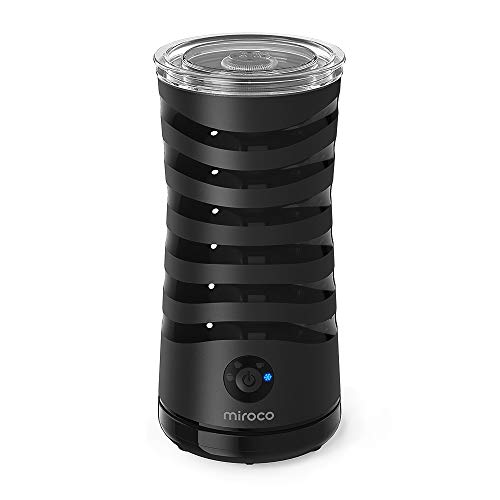
Miroco Electric Milk Steamer Soft Foam Maker is an electric milk frother. Pour milk into the frother, press a button, and you will have microfoam ready in seconds. This machine also includes a heater that will take milk to a maximum temperature of 149℉.
The actual temperature is slightly lower but it’s close enough to be in the optimal range for frothing. The maximum milk frothing capacity of the machine is 115ml, but it can heat up to 240ml of liquids. Miroco is compact and can create foam in three textures, viz. hot airy foam, hot dense foam, and cold milk froth.
Secura Automatic Electric Milk Frother and Warmer
I have to admit, at first glance, I wasn’t much impressed by the Secura Automatic Electric Milk Frother and Warmer. It looks like an overreaching electric kettle. Thankfully, it is quite diligent in its milk frothing duties.
The machine can froth about 125 ml of milk or heat 250ml of beverages. The stainless steel exterior that plays a part in its unassuming looks, also makes the milk frother easier to clean and maintain.
Getting Best Results From The Milk Frother
The guide here has step-by-step directions on how to use a milk frother and covers the best-regarded methods. Frothing milk is a simple enough process. At the same time, it is very delicate. Beginners will take some time before they can consistently froth microfoam.
Remember to be patient and follow a process that plays to your strengths. Manual, as well as fully automatic methods, produce excellent quality foam from frothing milk. This might also be a time to sharpen those latte art skills!