In recent years, Ninja coffee makers and brewing systems have become more popular than ever.
Many of these brewing systems are seemingly complicated machines with a variety of compartments and containers.
Where do you begin when figuring out how to clean Ninja coffee makers?
Understandably, a Ninja coffee maker cleaning routine might be intimidating at first.
After all, these machines can have a complicated system. You’d be surprised that it’s not that hard to clean each part of the system, though.
Still, every Ninja coffee maker is different, so keep that in mind as we walk you through the cleaning methods you can use.
How to Clean Ninja Coffee Makers
Cleaning your Ninja coffee maker isn’t difficult; the system even has some features built in to make it easier.
While some bits will have to be cleaned by hand, others can automatically be cleaned by the system.
Let’s break things down and make it easier than ever to know how to clean your favorite coffee-making appliance.
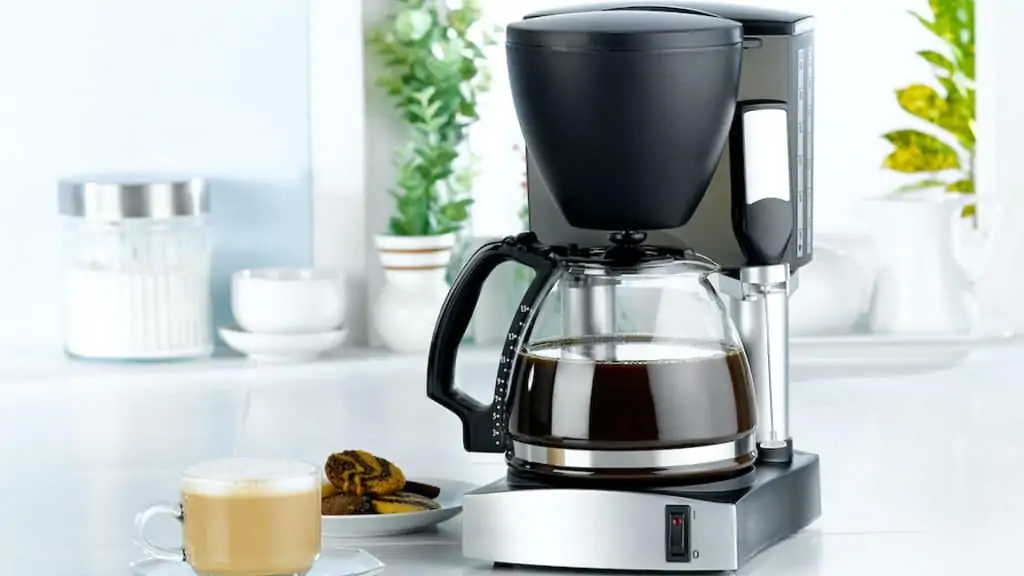
Cleaning the Coffee Maker
When cleaning your Ninja coffee maker, you need to pay attention to two things: the base and the removable parts.
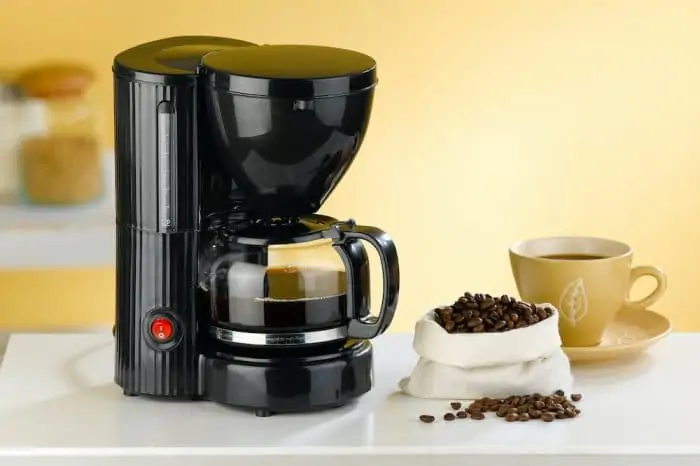
Cleaning the Removable Parts
The removable parts are usually the easiest to clean because they are often dishwasher-safe.
At the very least, they can easily be taken off the brewing system and washed in the sink.
The best way to clean these pieces is with warm, soapy water. You can allow the pieces to soak if there is any buildup on them, then use a washcloth to scrub them down.
Once the soap has been rinsed off, leave these pieces to dry completely before you reassemble your brewing setup.
Cleaning the Brewing Base
Cleaning the brewing base is a little more complicated because it cannot be submerged in water. If you do, you will damage the electronics inside.
For that reason, you would want to make sure that you are mindful of how much water you use when cleaning your Ninja.
The best solutions for cleaning the outside are warm, soapy water, or a mixture of ⅓ white vinegar and ⅔ water.
Both of these solutions will remove grime, oils, and other buildups that may have accumulated on your machine.
To clean the outside, dip a washcloth in your chosen cleaning liquid. Wring out the washcloth, and then gently wipe down the outside of the unit.
Use a towel to dry the unit or let it air dry completely. Once it is dry, you can reattach any removable pieces you may have taken off while cleaning.
Descaling the Coffee Maker
Many of the upgraded Ninja coffee makers have a programmable cleaning cycle that can be used to decalcify the appliance.
When considering how to clean a Ninja coffee maker, you will want to check if yours has this feature.
If so, this is an even easier way to clean your appliance. Here’s how you do it.
Step 1: Watch for the Light
When its time to do your Ninja coffee maker cleaning or descaling routine, the red light underneath the Clean button will light up.
When this button lights up, you know it is time to run a cleaning cycle as soon as possible.
You can keep making coffee without running a cleaning cycle, but you should clean the system as soon as possible.
Step 2: Fill the Water Reservoir
You will need to fill up the water reservoir to the maximum fill line with either a water-vinegar mixture or the official descaling solution from Ninja.
The descaling solution is generally stronger and will tell you exactly how much to use, but using white vinegar is fine, too.
When using white vinegar, it is best to use a mixture that is one part vinegar for every two parts of water.
Regardless of what solution you use, make sure that you fill the water reservoir to the max fill line.
Step 3: Set Your Brew Size
Once you have water in the reservoir, you will want to set up the brew size.
Since you filled the reservoir to the max fill line, you will want to select the biggest size.
The biggest size on most Ninja coffee makers is the full carafe size.
You must select the biggest size to ensure that the entire reservoir is emptied during the cleaning process.
Step 4: Start the Clean Cycle
To start the cleaning cycle, simply push the Clean button.
The screen should show the letters “CLN” and display a countdown timer of how long it will take.
On most Ninja systems, the cleaning will take around one hour, but this can vary depending on the model you are cleaning.
Step 5: Empty and Flush
When the clean cycle is complete, take the carafe and dump out the liquid.
Fill the reservoir with tap water, and then push the Clean button again. This will begin the flush cycle and should take around eight minutes.
There is no need to add any descaling solution or vinegar to this step.
Step 6: Second Flush
Once the first flush is complete, you will want to repeat Step 5 to run one more flush.
After the second flush is done, the Clean light should no longer be red.
The buildup, as well as the vinegar, has now been flushed from the system, so you can go back to enjoying brewing your coffee.
Now that you know how to clean a Ninja coffee maker, you can see how easy it is to do thanks to the pre-programmed cleaning cycle.
Can I Clean Without Any Chemicals?
As mentioned above, you are not required to use the descaling solution that Ninja has created for their coffee makers.
While this solution is optimized to ensure that the coffee makers become as clean as possible, they are not a requirement in any way to get your coffee maker clean.
Instead, you can use natural solutions, such as white vinegar.
White vinegar works well because it helps to loosen up the minerals stuck on the coffee maker when it is put through the cleaning process.
Still, other coffee lovers are concerned about using vinegar because of its strong smell that might affect the taste and aroma of their brew.
If there are particular ingredients in the descaling solution you want to avoid, you can look for alternative mixtures.
You will find that there are many natural coffee maker descaling solutions on the market, as well.
What Is That White Stuff?
The white stuff you see built up around your coffee nozzle or even around your showerhead is known as calcification.
This happens because the minerals found in water are often left behind when it is heated.
As you may already know, the buildup of these minerals can cause problems with your coffee maker.
Those problems could even cause your coffee maker to fail in a much shorter period than it should.
That is why it is important to learn how to clean Ninja coffee makers to remove the minerals through descaling, as explained above.
Cleaning Your Ninja Coffee Maker Matters
Have you come across the best way to clean your Ninja coffee maker? Does this method seem more straightforward than what you were trying to do before?
Cleaning your coffee maker regularly is important for the long-term care of your device. It also to ensures there is no calcification.
If you neglect your Ninja for too long, it will be harder to clean than ever. That is why it is important to create a system of regularly cleaning your coffee maker.
Have you figured out your cleaning system for your Ninja coffee maker?